搭建客户端
-
- 2.添加依赖
- 3.完整的 pom.xml
- 4.添加一个配置文件
- 5.添加一个启动类
- 6.添加一个 Controller
- 7.启动项目
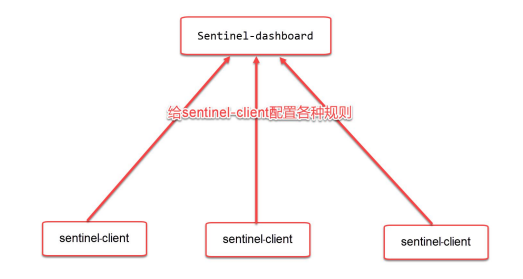
- 刚才我们搭建了 sentinel-dashboard,我们还需要搭建一个客户端,用于测试 sentinel 的各种功能
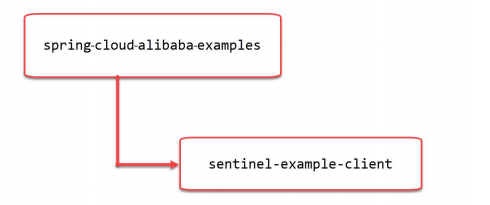
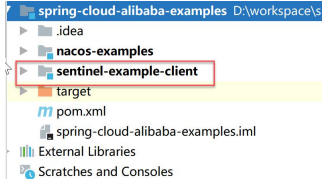
- 我们将搭建如图所示的 Maven 项目结构:
1.使用 IDEA 创建子模块
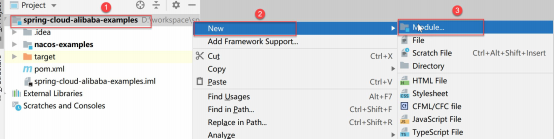
- 选择 Maven 项目:
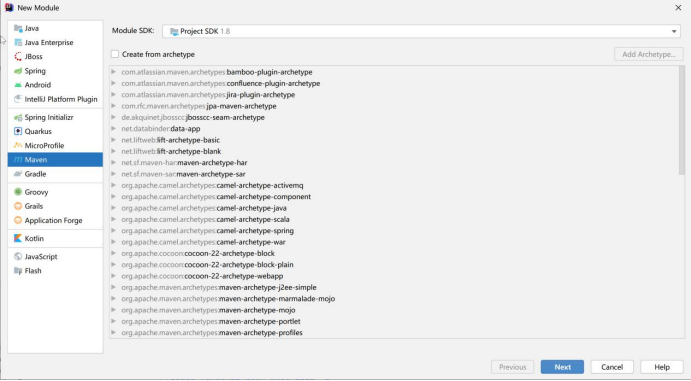
- 点击 Next:
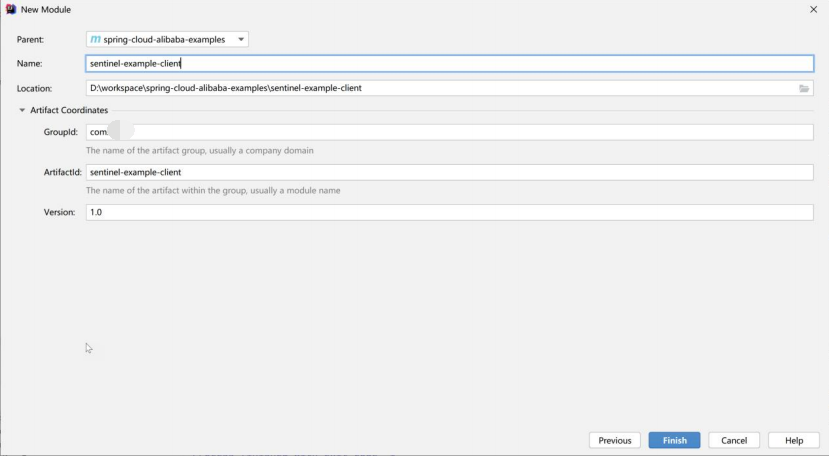
- Parent:选择 spring-cloud-alibaba-examples
- Name:命名为 sentinel-example-client
- 其他的项保持默认值即可。
- 点击 Finish 完成创建。
2.添加依赖
- 修改 sentinel-example-client 里面的 pom.xml 文件:
- 添加以下的内容:
<dependencies>
	<dependency>
		<groupId>org.springframework.boot</groupId>
		<artifactId>spring-boot-starter-web</artifactId>
	</dependency>
	<dependency>
		<groupId>com.alibaba.cloud</groupId>
		<artifactId>spring